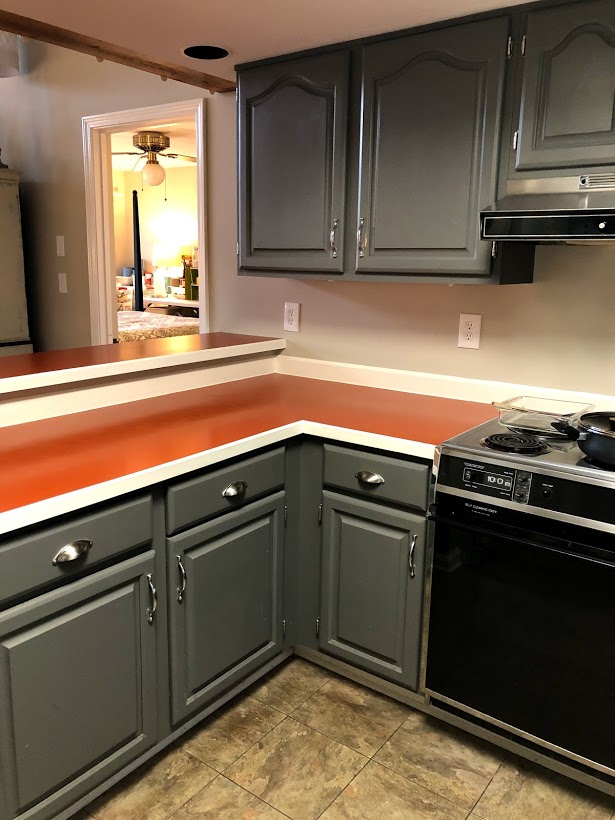
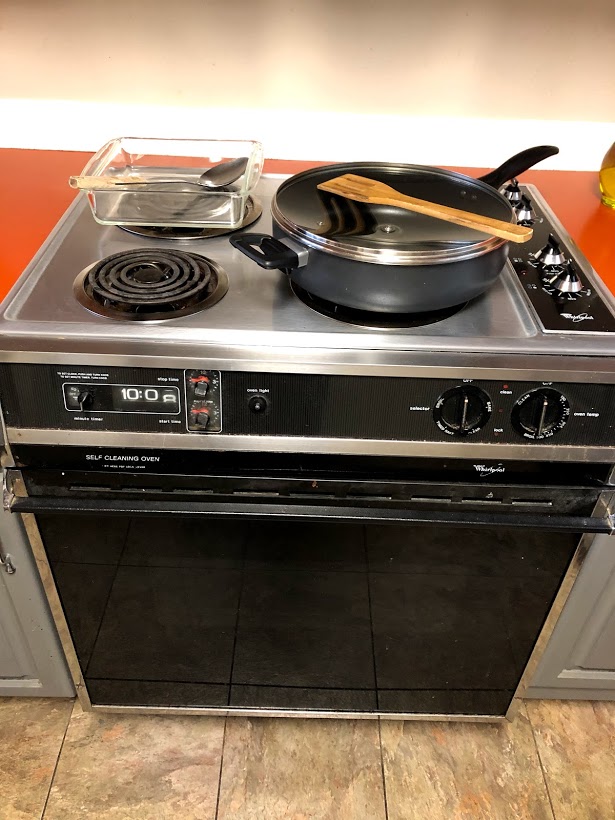
I know we are not the first family to undergo a remodel of a kitchen, but when you are embarking on this journey, somewhere in the midst of the excitement lies a small bit of terror as thoughts arise on how you will remodel the kitchen on a budget and yet eat every meal out for months on end. And what about those wee children and hard-working husbands? Bedtimes, nap times and missed ballgames or meetings for your husband will definitely add to your stress if you are constantly dragging your children to restaurant after restaurant night after night and pleading with your husband to miss his game, or his meeting, to take you out to eat.
I know I’m a bit over the edge Type A, but I am only three weeks into this remodel and I can already tell you some things that have saved us.
I began with “eating down our frig and freezer” the month prior to any work beginning. Simply stating, all that means is ….eat what you have on hand and buy very little else. And if you can make casseroles ahead that will microwave easily (providing you will have a freezer to store them in), that will be time well spent!
Secondly, I began to plan where our make-shift, temporary kitchen would be housed. Although it’s not the best idea to use your sleeping space (particularly if you don’t like to smell food odors into the night), it was the most reasonable spot for us as we have a very small home.
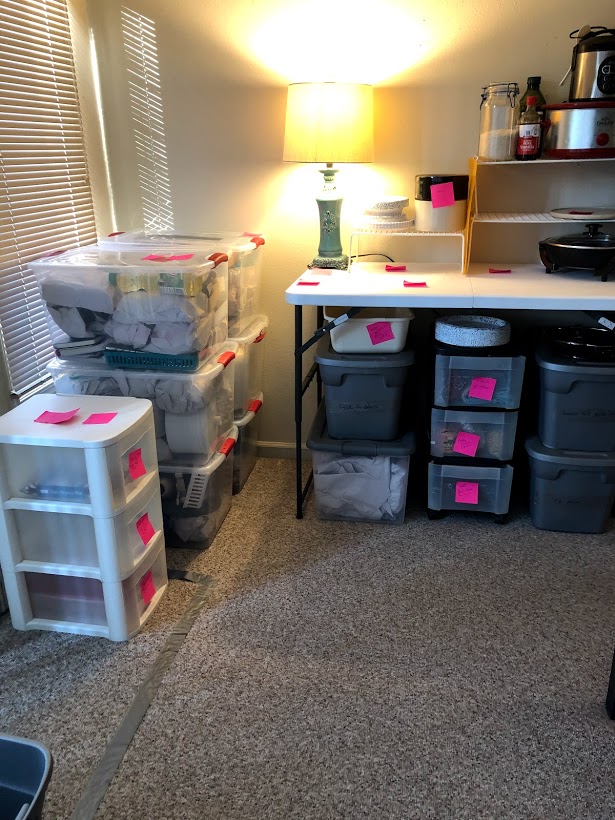
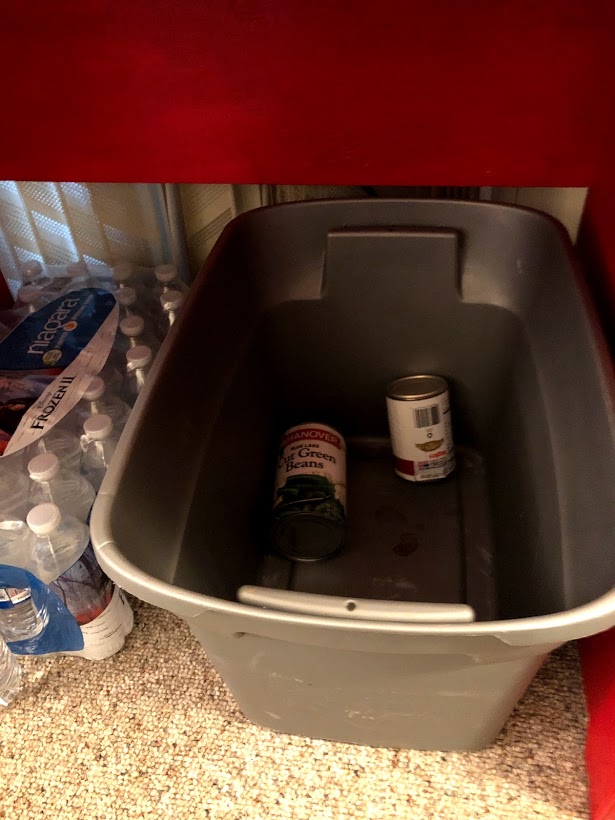
I began by clearing out and stowing away easily movable and small furniture items such as side chairs and tables. I purchased several plastic tubs that I could put our kitchen items in (including food) and began cleaning out the cupboards one by one, filling the tubs and labeling them in case I had to find something later on. I used sticky notes to begin my thought process of where things would go in my make-shift kitchen.
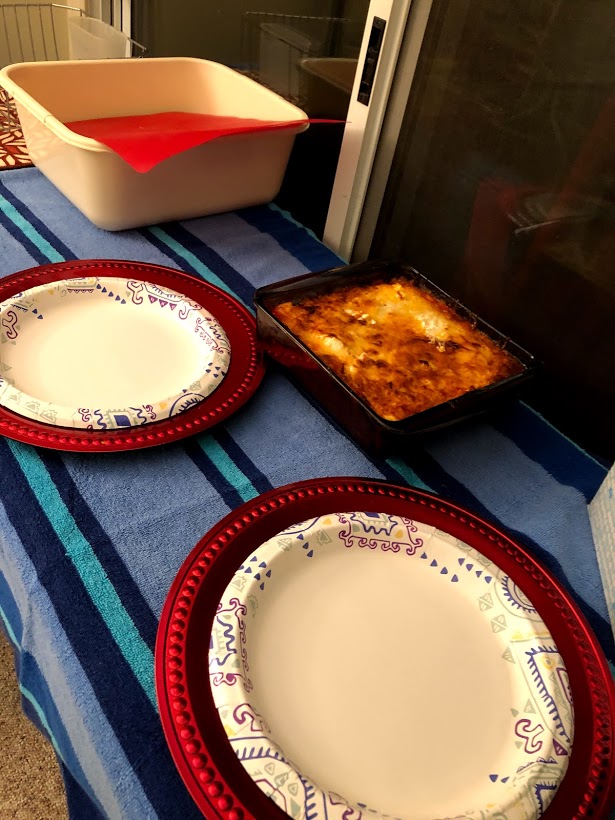
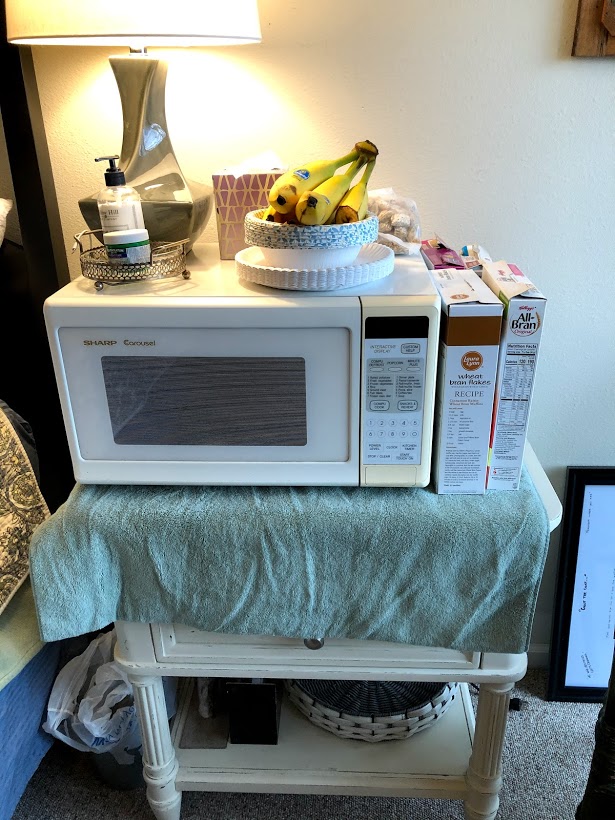
Next, I set up our dining room drop-leaf table in our bedroom, covering it with a beach towel and putting our sink drainer on one end. This area was going to become our dish drying station. On the other end of the table, I placed two plate chargers and a stack of paper plates. (The chargers were to provide extra stability beneath the paper plates).
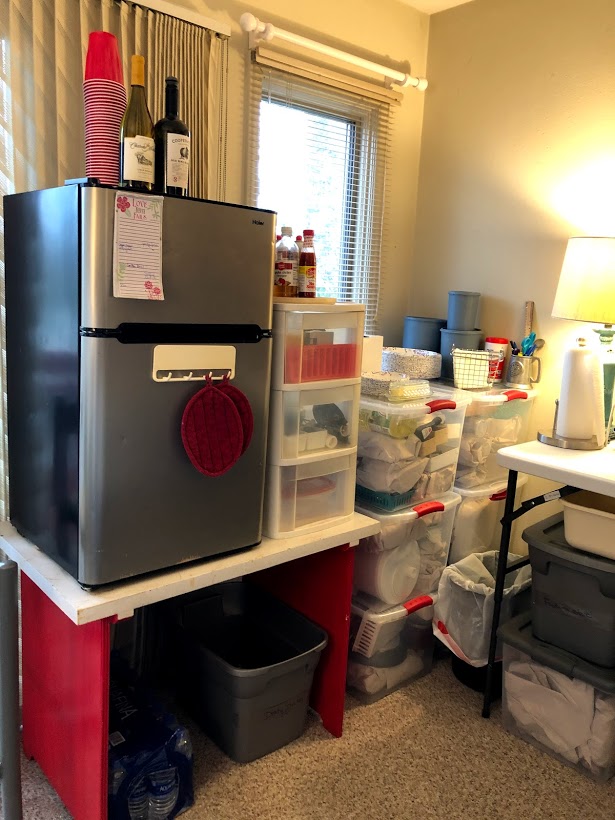
We were fortunate to have a small college-sized refrigerator in our shed, and my sweet husband cleaned it up and brought it and an old work table inside for me. That, combined with some old storage drawer units we had stuck in the crawlspace of our home, created a nice area for our immediate needs.
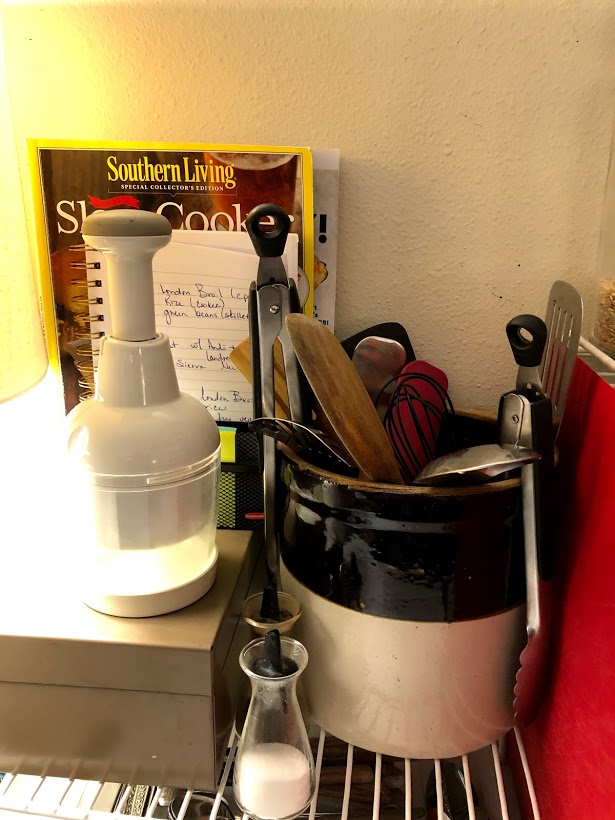
The next thing was to take stock of what cooking items and utensils I already had on hand that could be used in meal prep without a stove or oven. (Oh, did I mention we were also replacing all of our appliances?) I already had a counter-top microwave so I made a mental note of where that could go in our temporary kitchen.
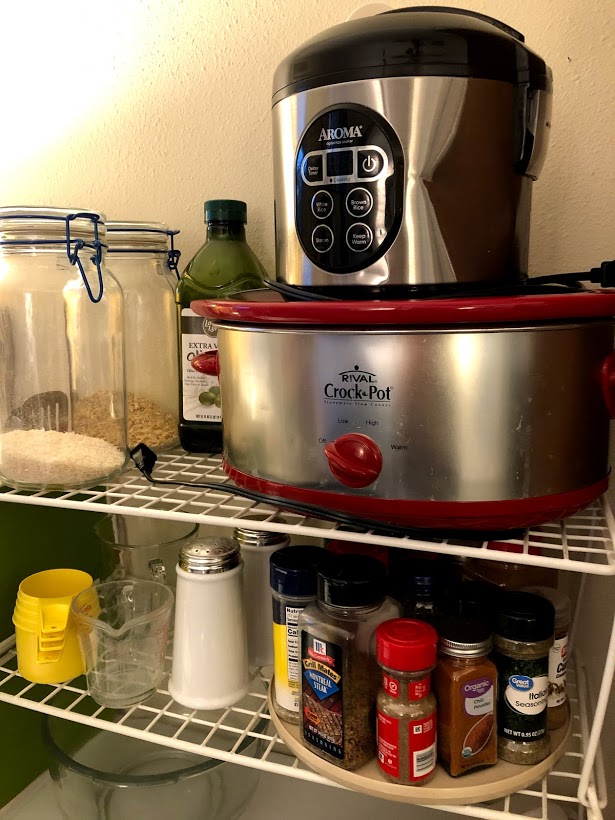
I also had a crock pot and a rice cooker, so I knew those would be quite useful. We are blessed as well to have a grill and my husband was more than happy to be included in the meal prep, so naturally I would incorporate some good grilled items into my menu planning (but I’m getting ahead of myself!)
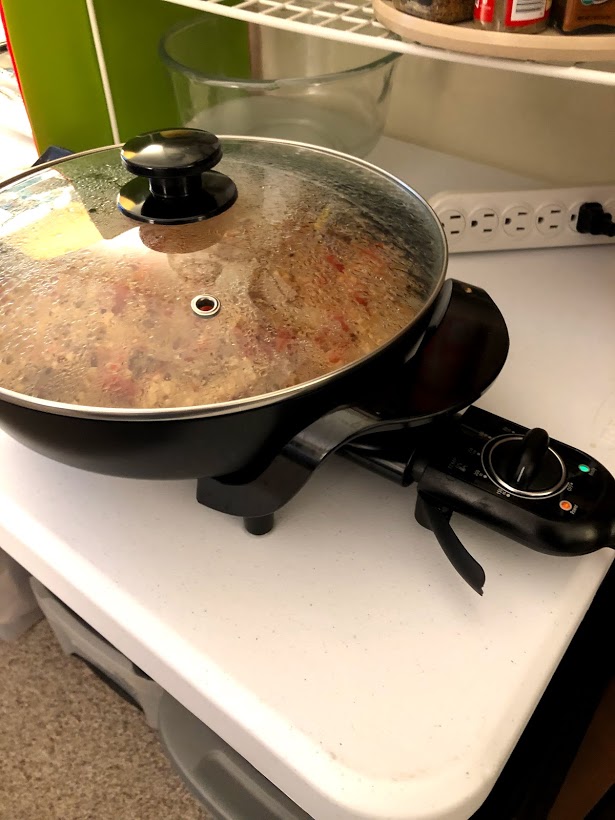
I determined that the only other item I didn’t have that would be helpful was a hot plate. When I walked into our local Wal-Mart, however, I found an electric skillet for under $25 and purchased that instead. It’s been such a great find and something I will use even after the kitchen remodel is complete!
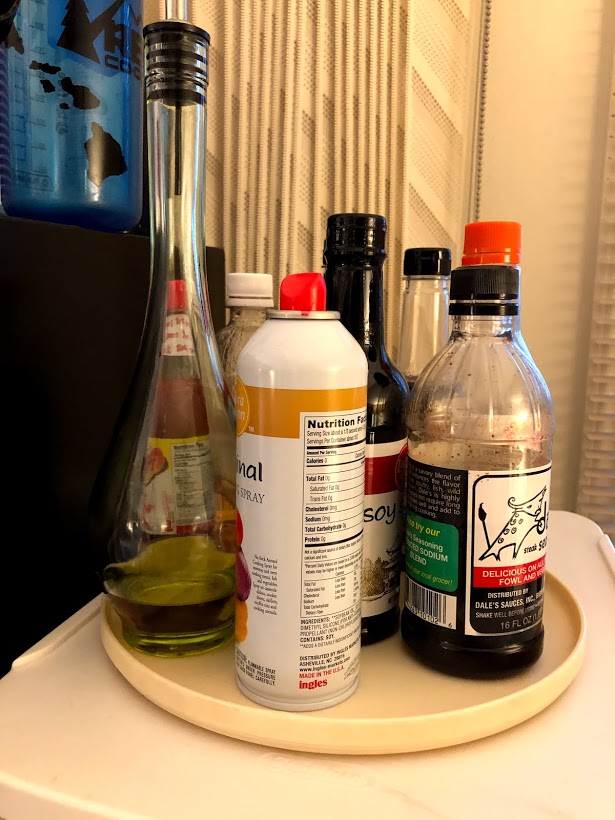

As I packed up the staples of my kitchen (salt, pepper, spices, etc.), I left out those that I use most frequently and put all the rest into one of my designated food tubs. Don’t forget to leave out staples such as peanut butter & crackers!
Next I went to work on planning 30 days of menus that would use microwave, grill, crock pot, rice cooker or electric skillet. Oh, I also left out our toaster! I figured if the reno took more than a month, I would simply start over again with my menus! (Yes, I honestly thought we would be done inside a month’s time!)
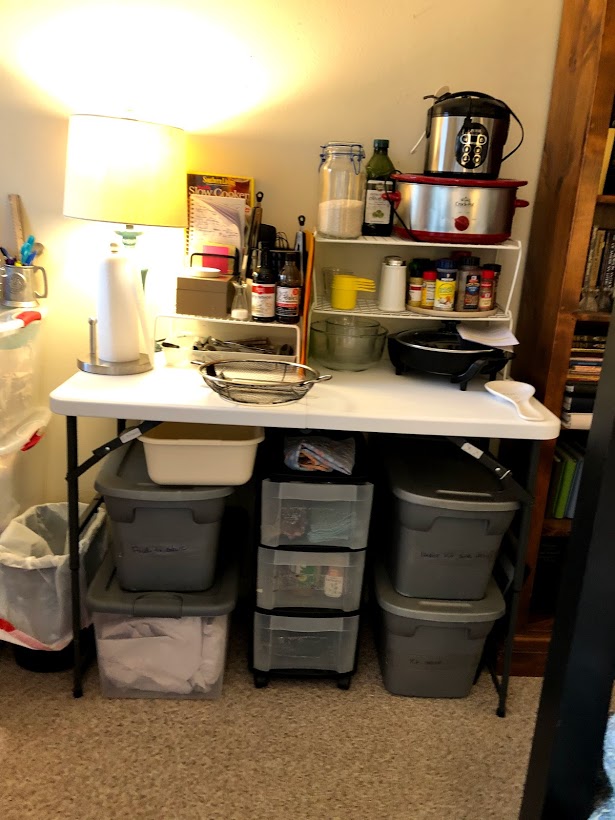
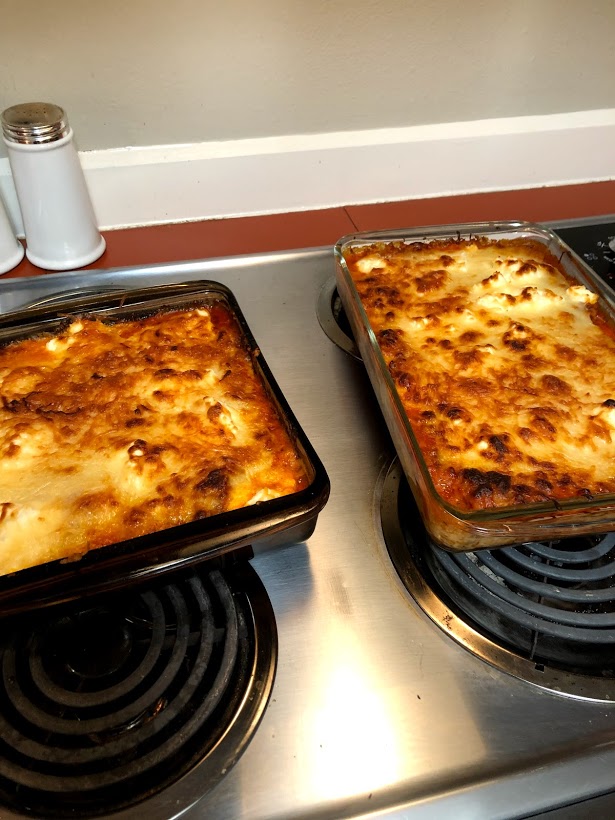
I brought in some stacking drawer tubs we had stashed in our shed, cleaned them up and stuffed them beneath a plastic folding table I also had in the shed. Those have proved to be super helpful as well for storing some food items and also some glass baking dishes that I use not only to warm food in, but for storage of leftover items. (KEY here is not to plan meals that you actually have leftovers from unless you have a refrigerator to store them in during your renovation!)
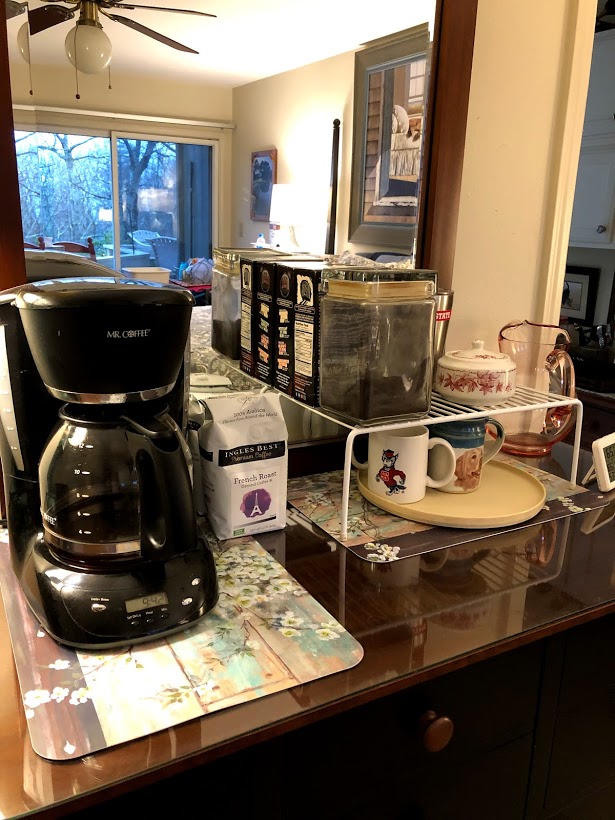
How could I forget our coffee station? I found some cute wipe-able place-mats at Walmart for $1 each and purchased two simply to protect our dresser top. Then I brought in a stacking shelf that was in my cupboard and used it to create my coffee station. Works so great!
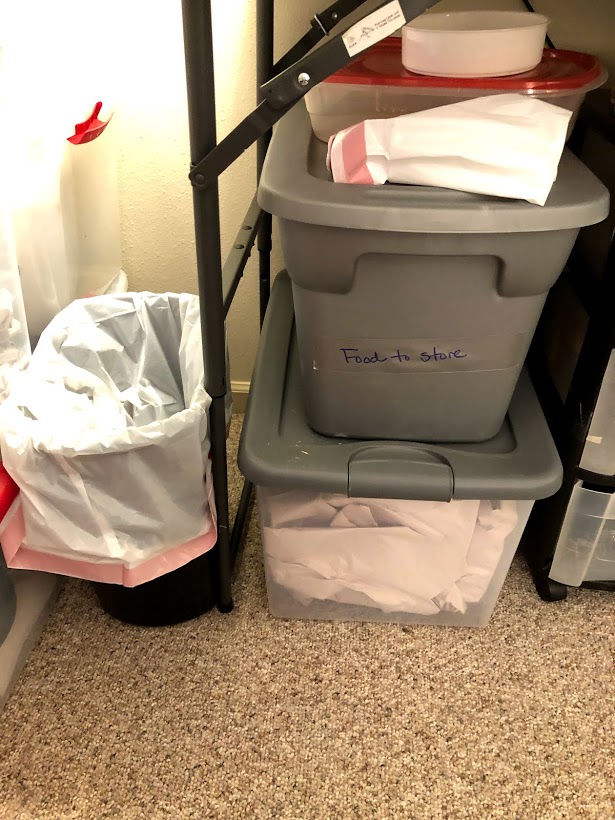
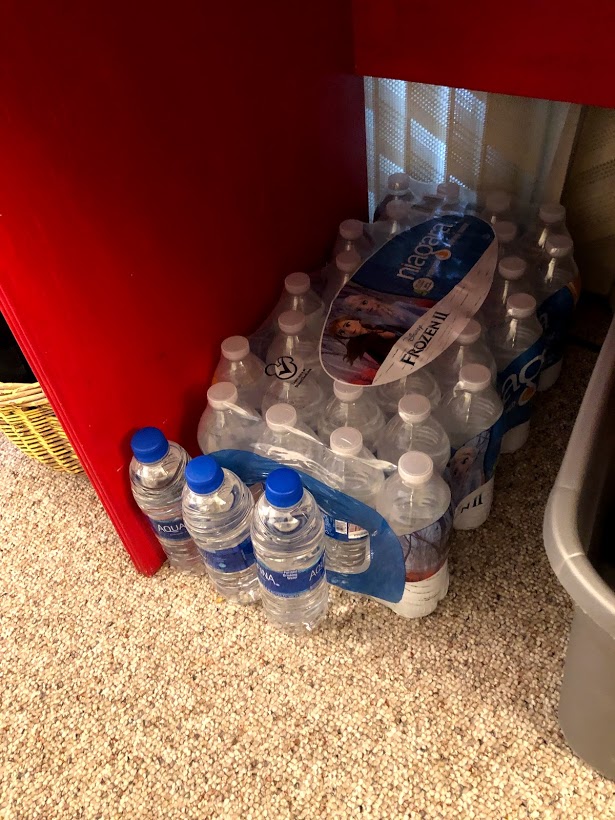
Be sure to include in your make-shift kitchen area a trash can, liner bags, a recycling area and lots of bottled water! While we don’t have a kitchen sink or a refrigerator with water built in at present, I have found that the convenience of bottled water is just….well, nice.
Okay, the hard work now has been done! Let the reno begin! Let’s see some of the meals we’ve enjoyed during this journey so far….

Broccoli and salmon were prepared on the grill. Beans and tomatoes were heated in the microwave (not as nice as on the stove top where flavors have an opportunity to mesh, but still good!).

Taco salad anyone? I browned the hamburger in the skillet and the rest was easy peesy! Don’t like paper plates? I promise when you get to meal clean-up you’ll be thankful for them!
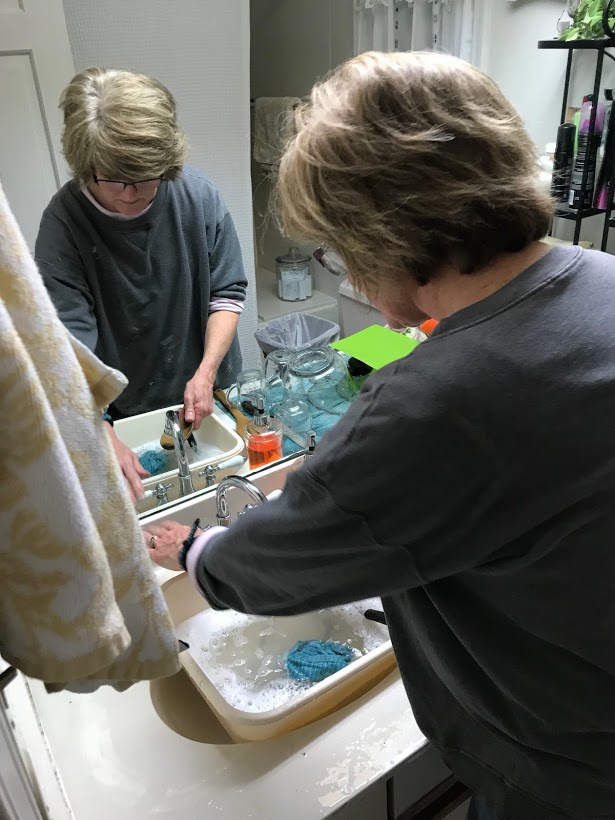
Speaking of meal clean up, I chose to use a plastic dish tub that fit inside my bathroom sink so that I didn’t have to wash my sink out everyday! (Lazy, I know…). Because I’m not a fan of drinking coffee from paper or Styrofoam or of using plastic utensils, there are always some items to wash, but overall it has been quite manageable.
Keep the main thing the main thing and don’t forget to enjoy the journey! You will get to enjoy the not-so-exciting food prep in your new kitchen soon enough. For now, think…..Camping! You’ve got this!
~Blessings,
Connie
